Create Separate partition for windows-How to Guide
here I am going to tell you a simple method for saving your important data easily while you upgrade or re-install windows.
You can simply Create Separate partition for your operating system at the time of installation. It can be done by following some simple steps as given below :
How to Create Separate partition
Step 1 :
When installing windows –
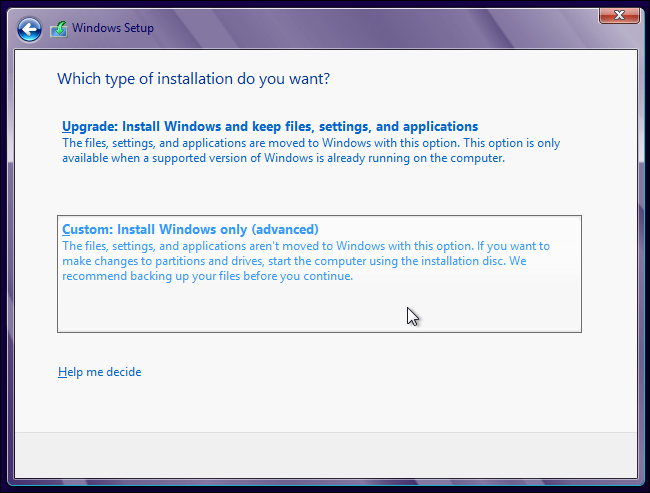
Once you start setup with the Custom installation of windows , you will be moved forward to a new screen with some more options as shown in image shown below :
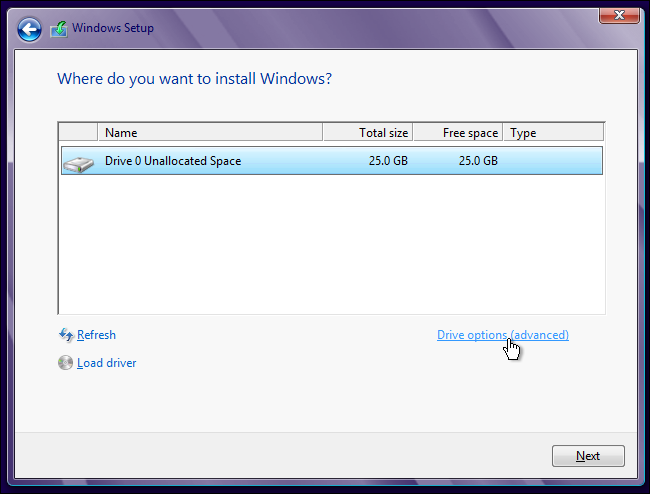
Now here in this window , you simply have to click on Drive options (Advanced) option present at right side of dialog box.
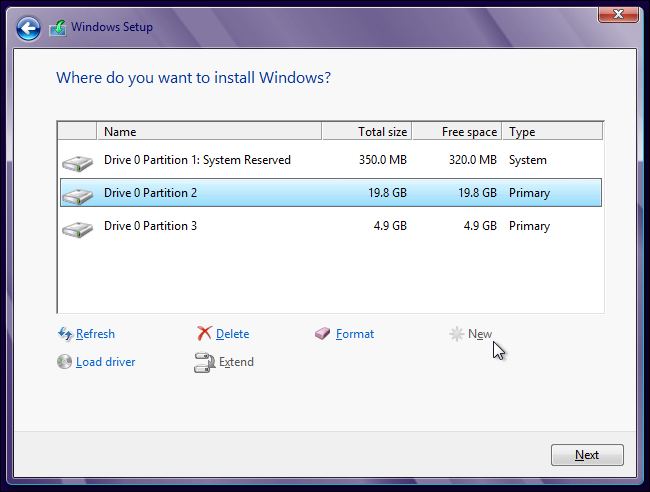
Create several partitions by clicking the New button and entering desired size for each partition.
When you’re done with your partition sizes, select the partition where you wish to install windows and click the Next button. Windows will start installing to that partition. The space on the other partition will be available as its own separate drive letter in Windows.
Now upto this step , you are all done with setting up your system for installing window in a separate partition.
Once the window is completely installed in your selected partition or drive , all you have to do is make sure that whenever you install any application or software on your system , never keep it in same drive where you have installed windows. Always keep your personal files and data in some other drive than windows primary drive so that whenever you need to upgrade or re install windows , our data stay in safe place .
When you install software most of them has their default path in C:/Program files but this is not a compulsion to install them in C: drive, you can install them in any drive where you wish to install them. So try to make it some other drive than C: because they are more safe from any accidental damage to data.
Post a Comment